Blog

Arepas recipe
Cuisine
Anupama Mishra

Crispy and Soft: The Ultimate Arepas Recipe You Need to Try!

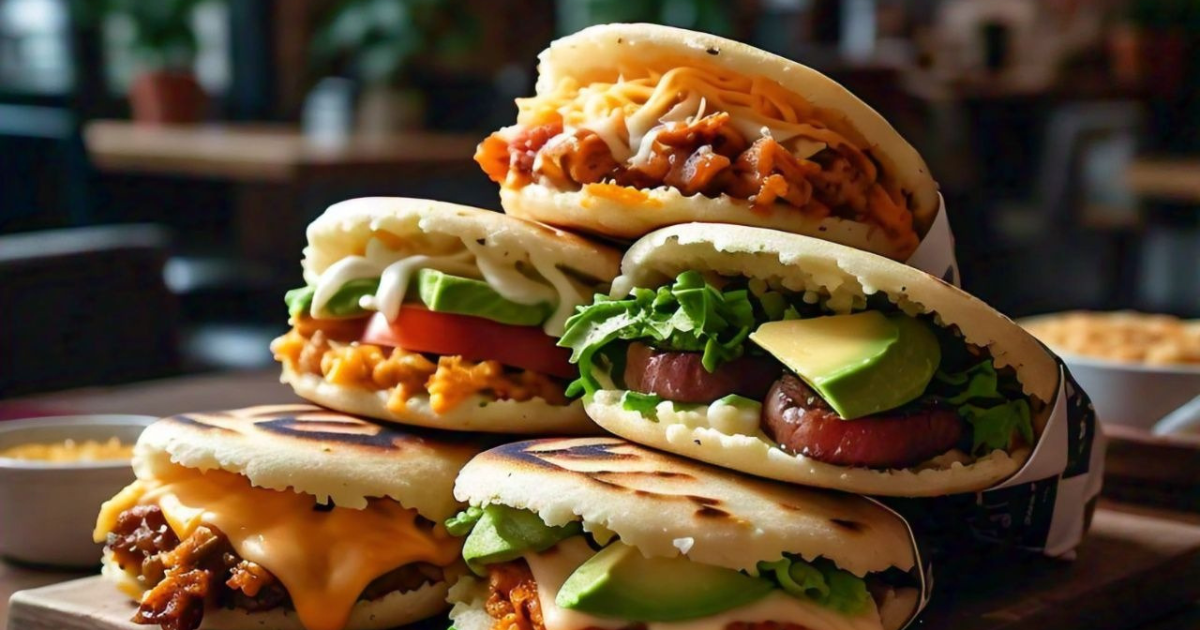
Arepas Recipe Rating: 4.8/5  Preparation Time: 30 minutes  Do you feel like munching on something crispy outside but soft, warm and fluffy inside? Look no further! For starters, Venezuelan and Colombian style corn cakes, known as arepas, are an impossible food to turn a blind eye to. Below is the easy to follow recipe that will help you know how to make arepas for any meal. So now let’s take a closer look at their background, composition, and how they are prepared. Background of the recipe Before jumping into the recipe, let’s take a quick look at the history of these delightful corn cakes: Read more: Sweet Potato Chips Recipe: 1 Bowl Full Of Crispy Yellow Wonder Ingredients for Perfect Arepas To make the perfect arepas at home, you’ll need just a few simple ingredients that are easily accessible: Optional Fillings: How to Make Arepas: Step-by-Step Guide Step 1: Mix the Dough  In one medium sized bowl mix the warm water with salt. Gradually incorporate the precooked cornmeal into the mixture while stirring the concoction with your hands or a spoon. Continue mixing until t he dough is non sticky and free of lumps. After you have kneaded the dough let it rest for 5 minutes. Step 2: Shape the Arepas  My advice is to divide the dough into 4-6 pieces. Afterward, each portion should be rolled into a ball, then flattened into a patty, approximately ½ an inch thick. Step 3: Cook the Arepas  Add one tablespoon vegetable oil in non-sticky pan at medium flame. Spreading the flattened discs of dough over the pan, fry both sides for 5 – 7 minutes to gain a crisp brown colour. The interior should still be then tender as well as slightly doughy while the outside surface should be crispy. Step 4 : Optional (Bake for Extra Crispiness ) If you want the outside crust to be much more crunchy, put the arepas on a baking sheet and bake in a hot oven at 175 degrees C for the additional ten minutes. Step 5: Fill and Serve  After cooking, the arepas need to be allowed to cool a little. Cut them horizontally and use them like pocket sandwiches with your preferred fillings being cheese, Avocado or shredded meat. Nutritional Value (Per Serving) They are naturally gluten-free, making them a great option for those with dietary restrictions. Depending on your fillings, you can also increase the protein and healthy fats to make them even more nutritious. Tips for Making the Best Arepas Arepas are more than a plate of food; arepas are a tradition and a necessity in the South America meals. Having learnt how to make arepas, may be it is time for you to try out this arepas recipe . They are just perfect eaten without any additions, or packed with any preferred ingredients, you’d surely love having this recipe in your home. Please share your ideas and deviations from this theme of the classic recipe in the comments to this article! Read similar posts:

Read More
Baby Back ribs. Easy & delicious
Cuisine
Anupama Mishra

Mouthwatering Baby Back Ribs Recipe: The Ultimate Guide to Smoked Baby Back Ribs

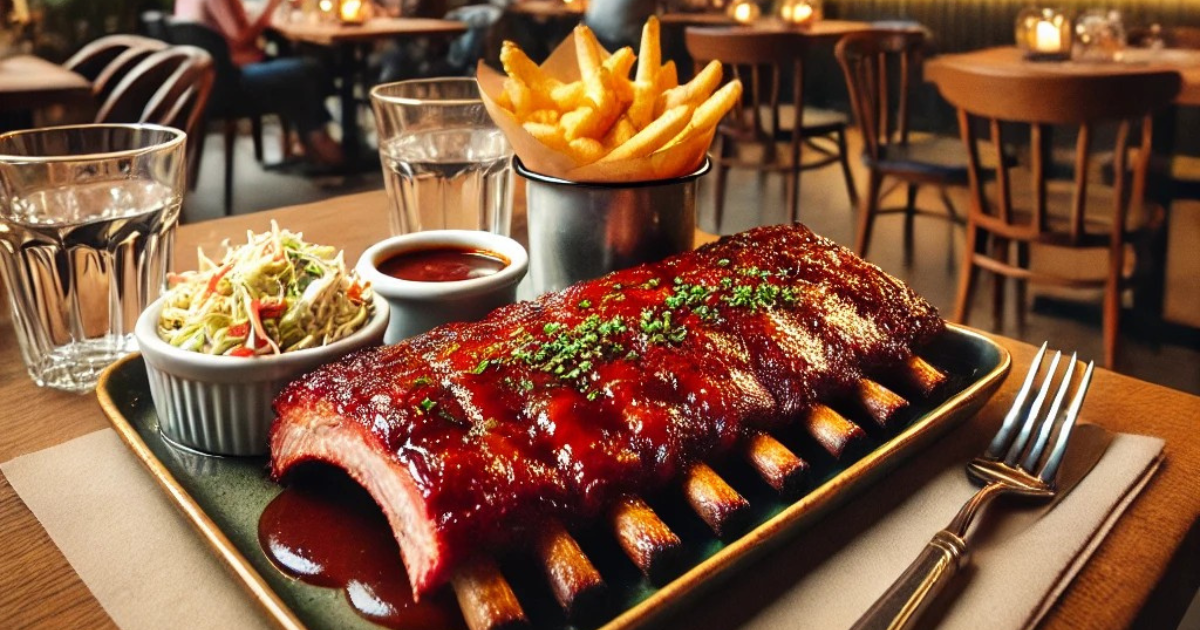
Ratings: 4.9/5 Preparation Time: 20 minutes  Cooking Time: 4 hours  Total Time: 4 hours 20 minutes  When it comes to a dish of baby back ribs there is nothing better than seeing them cooked to perfection. No matter whether you are going to have a family dinner or are planning a barbecue party at the backyard, the following recipe for the baby back ribs will make your guests wolf down their plates. The history of baby back ribs will be explored in this guide, along with how to cook the dish and nutrition information. If you follow these simple instructions you will be able to impress your family and friends with smoked baby back ribs! A Brief History of Baby Back Ribs Read more: Best Korean Braised Pork Ribs: Galbi Jjim Recipe Ingredients for Baby Back Ribs Recipe Steps to Make Perfect Smoked Baby Back Ribs Step 1: Preparation Step 2: Smoking the Ribs Step 3: Wrap and Finish Step 4: Serve Nutritional Value (Per Serving of Baby Back Ribs) Tips for Perfect Baby Back Ribs Creating perfect smoked baby back ribs may not be a very easy task, but with this specific recipe, you are sure to add it to your go-to list. The ribs are tender and juicy accompanied by a tasty and aromatic BBQ sauce, making the whole product irresistible. Who’s ready to jump into the world of BBQ grilling? If you want to learn about beginner smoker techniques or simply enjoy some delicious smoked baby back ribs in your backyard then please follow this guide. Bon appétit to all the family members and the friends! Read similar posts:

Read More
How to make grilled pineapple
Meals
Anupama Mishra

Irresistible Grilled Pineapple Recipe: A Tropical Delight with a Hint of History

Rating: 4.9/5 (based on 150 reviews) Preparation Time: 10 minutes Grilling Time: 6-10 minutes Who could not like any sweet and savoury treat that is served hot off the grill? This particular grilled pineapple recipe shows both an acidulous and caramelized delicious pineapple dish i.e. Grilled pineapple which is perfect for a tropical meal. Hence, whether you are preparing for a simple barbecue session or you wish to take your daily meals to the next level, grilled pineapple will complement grilled meats particularly; grilled pineapple chicken or serve it alone; it makes a wonderful dessert. A Quick History of Grilled Pineapple recipe Read more:A Perfect Recipe for Grilled Lamb Chops- step-by-step guide! Ingredients for the Perfect Grilled Pineapple Recipe To get the perfect balance of sweetness and slight smokiness, you’ll need: For a Grilled Pineapple Chicken Marinade (optional add-on) Step-by-Step Procedure for Grilled Pineapple Step 1 Prep the Pineapple: Insert a knife to cut out the pineapple into ring shapes along the circumference of the fruit with a thickness of 0. 5 inches. You can also chop them in quite long pieces if you fancy, in a wedge shape. Step 2 Mix the Glaze: Mix the melted butter and brown sugar (or honey) together in a small bowl and add cinnamon to this mixture. Paint this mixture liberally over the surface of the Pineapples on each side. Step 3 Heat the Grill: First, let’s get your grill ready by turning the heat up on it and setting it to medium-high (around 400°F / 200°C). You want a hot grill to sear those steaks and have the grilling marks resembling railway lines. Step 4 Grill the Pineapple: Arrange the pineapple rings right on the grill grates. Bake for 3-5 minutes on each side the you get a nice amber grill lines and some caramelization. And as a word of caution do not fry the kebabs to crispiness to ensure that they are juicy. Step 5 Add Some Lime: For additional kick in flavour, one can sprinkle freshly squeezed lime juice over the prepared pine apples before you serve them. Optional: Grilled Pineapple Chicken Recipe – Easy to follow step by step recipes Pineapple Chicken Recipe Directions Step1 Marinate the Chicken:Olive oil, minced garlic, honey, lime juice and soy sauce should be combined in a bowl. Place chicken breasts and marinate it for at least 30 minutes before cooking. Step 2 Grill the Chicken: Fry the chicken on the grill for about 6 to 8 minutes on each side, or until done. The final three minutes of cooking should be spent grilling your pineapple slices. Step 3 Serve Together:>Finally, place a few cuts of grilled pineapple on top of a piece of grilled chicken for added taste that is both sweet and savory. Nutritional Value (per serving of grilled pineapple) Note: Grilled pineapple is naturally low in fat and packed with Vitamin C, making it a deliciously healthy choice for summer meals. Why You’ll Love This Grilled Pineapple Recipe This grilled pineapple recipe will become a favorite in your household because it adds a tropical twist to it. The symbiosis that exists between the caramelized tones and the smoke of barbeque enhances the flavor so drastically. Try out more and combining it with meats for a fulfilling meal, the grilled pineapple chicken will definitely make your guest’s tongue dance with joy! Happy grilling! Read similar posts:

Read More

I’m Jessica, your new guide. Welcome to my Cookbook!

Lorem ipsum dolor sit amet, ad consectetur adi picibe elit, sed do eiusmod tempor inci didunt quo labore e dolore magna aliqua ut.

Workshop

Subscribe
Subscribe to our newsletter and be informed about new recipes & workshops.

Follow me on Social Media