Blog

Oreo Cupcakes
Meals
Anupama Mishra

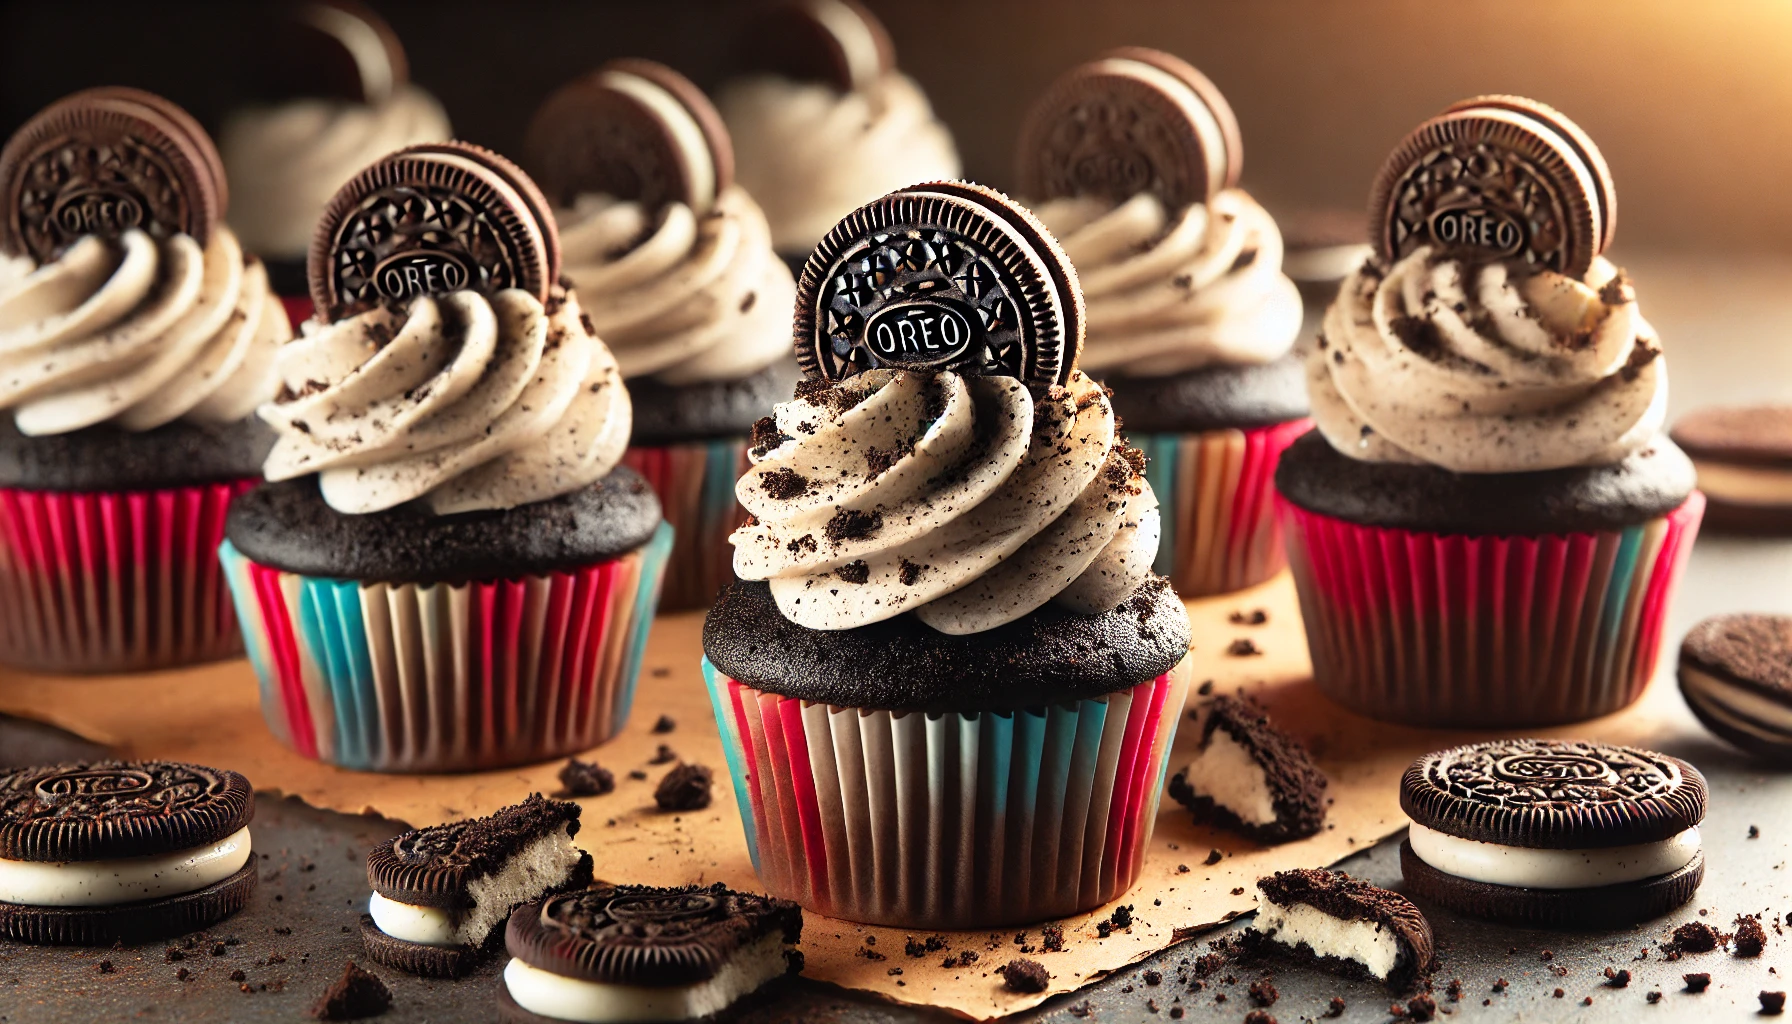
Deliciously Irresistible Oreo Cupcakes: A Step-by-Step Recipe

Rating:  4.8/5 Preparation Time:  45 minutes  If you are an admirer of the Oreo cookie and at the same time want to try out the softness of a cupcake? Of course, Oreo cupcakes are the perfect solution for it! These little delights are perfect all year round – for parties, birthdays, or just a little pick-me-up on a Wednesday. In the following passages, you will find out all the details of making delicious Oreo cupcakes that will leave everybody mesmerized. A Brief History of Oreo Cupcakes Read more: Four best Chocolate Chip Zucchini Muffin recipes! Ingredients for Oreo Cupcakes For the Cupcakes: For the Oreo Buttercream Frosting: Step-by-Step Instructions Step 1: Preheat & Prepare First, ensure you preheat your oven to 350°F (175°C), and then grease a cupcake pan then line it with cupcake papers. This again should be done in sets of two liners; the entire Oreo cookie should then be placed at the base of the liner. Step 2: Mix Dry Ingredients In a medium-sized bowl, sift flour and cocoa and then add sugar, baking powder, baking soda, and assigned salt. This makes certain that the dry materials are cut well out and blended well in the batter. Step 3: Mix Wet Ingredients In another large bowl combine eggs, milk, vegetable oil, and vanilla extract. Finally, add hot water gradually as you emulate stirring until a smooth mixture is obtained. Step 4: Mix Wet And Dry Ingredients Gradually fold the dry ingredients with the wet mixture and stir until well combined. The batter we should have for cooking should be a little liquid and thin. Step 5: Fill the Cupcake Liners Spoon the batter as equally as possible into cupcake liners, filling each of them two-thirds of the way. The Oreo base will float in the batter, allowing a nice surprise when one gets to the cupcake. Step 6: Bake Bake in the preheated oven for 18-22 minutes or until the toothpick is inserted into the middle of the cake and comes out free. In the case of preparing mini Oreo cupcakes, the baking time should be just about 12-15 minutes. Step 7: Prepare the Frosting While the cupcakes are cooling, you should make your Oreo buttercream frosting. With a hand mixer, it is used to beat the butter until creamy preferred at room temperature. Slowly incorporate the sifted powdered sugar in one cup into the mix. When the mixture is ready Stir in vanilla extract, crushed Oreo cookies, and heavy cream. Beat until smooth and fluffy. Step 8: Frost the Cupcakes Finally, when the cupcakes have cooled one can use a piping bag and pipe the Oreo buttercream frosting on top of cupcakes or one can use knives and spread it. To make it even more attractive you can put mini Oreo cookies as a frosting on the cupcakes. Nutritional Value (per cupcake) Tips for Perfect Oreo Cupcakes This Oreo cupcake is sure to be a favorite because of the chocolate cake, creamy Oreo frosting, and the Oreo cookie layer at the bottom. If you want to bake something as a birthday cake or as a simple baking experience that you’d want to do, these Oreo cupcakes will turn into your new favorite. Happy baking! FAQs 1. Do I have to put these cupcakes away?  Yes, it is possible to store them in a cool container and at room temperature maximum for 3 days or can keep them inside a refrigerator for about one week. 2. May I use gluten-free flour?  Absolutely! Alternatively, replace the all-purpose flour with gluten-free flour and see a tasty gluten-free treat at your disposal. 3. Can I freeze Oreo cupcakes?   Indeed, cupcakes, as well as frosting, may be frozen. Defrost these separately and refreeze them after you have frosted them to enjoy the best results. Read more:

Read More
Lobster Ravioli recipe
Cuisine
Anupama Mishra

Lobster Ravioli Delight: A Gourmet Recipe Worth Savoring!

Rating: 4.8/5  Prep Time: 30 minutes  Cook Time:15 minutes  Total Time: 45 minutes  Anyone that has ever tasted lobster ravioli will tell you with clear tones of passion that this dish is nothing short of to die for. A delicate, silky pasta sheath that encases succulent lobster meat with a glass of rich sauce makes the lobster ravioli concoction quite special. Ready to make it at home? Below is an easy, yet fancy lobster ravioli recipe that will give you a professional-quality taste from the comfort of your home. Bon appétit! Lobster Ravioli: Background Information Why lobster ravioli, an Italian dish, is gourmet Like most dishes, lobster ravioli has an intriguing story behind it. Here are some fun historical tidbits about this dish: Read more: Comforting Ravioli Carbonara Recipe Ingredients For the lobster filling: For the ravioli dough: For the sauce: Steps to make Lobster Ravioli Step 1: Make the Dough Step 2: Prepare the Lobster Filling Step 3: Roll Out and Fill Ravioli Step 4: Cook the Ravioli Step 5: Make the Sauce Nutritional Value (Per Serving)  Good Advice on Lobster Ravioli This is how to make this easy, fancy, and delicious ‘lobster ravioli’ and you can impress a dinner guest or indulge your leisurely night alone. The Crispiness of the lobster and the tempting cream sauce justify the painstaking commercial techniques behind all the chew. Feel free to say your opinions on the recipe below or even share your experience if you tried it. Happy cooking! Read more:

Read More
Buldak Ramen Recipe
Cuisine
Anupama Mishra

Fiery & Creamy Delight: Your Ultimate Buldak Ramen Recipe

Recipe Rating: 4.9/5  Preparation Time: 15 minutes  Cooking Time: 10 minutes  Total Time: 25 minutes  Do you think that you are ready for a change and a new ‘flavor’ added to the Korean bulgogi? If you like spicy foods and want to get a bowl of steaming hot delicious Ramen with a creamy finish, then you will love this Buldak Ramen Recipe to the gist of it. In this blog, we’ll explain its background, components, how to prepare this spicy ramen, and the nutritional information. So, let’s use our chopsticks and start! Background of Buldak Ramen Recipe Read more: Hot And Tempting Beef Miso Ramen Recipe Ingredients You’ll Need Buldak Ramen Recipe Step-By-Step Guide: Making Creamy Buldak Ramen Recipe Step 1: Prepare the Ramen  Step 2: Prepare the Cream Base  Step 3: Add the Spice Step 4: Mix noodles and cheese Step 5: Optional Toppings  Step 6: Serve and Enjoy  Nutritional Value (Per Serving) of Buldak Ramen Recipe Note: Nutritional values may vary based on portion sizes and additional toppings. Tips for Making the Best Creamy Buldak Ramen Here is a mouth-watering tasty creamy Buldak Ramen recipe that you can’t afford to miss since it blends spices and cream so well. Whether you love ramen or it is your first time to encounter it this elaborate twist is sure to warm you up and even better satisfy your taste buds. Share some of the toppings suggestions or modifications you prefer in the comment section below, do not forget to share with others who like Spicy food. Read more:

Read More
Carrot Halwa
Cuisine
Anupama Mishra

Carrot Halwa: A Sweet Fusion of Flavors

Ratings: 5 Preparation Time: 1 hour  Shelling out creative ingredient suggestions for dishes, the combination of raita and Jumping straight into dessert and taking on a traditional Indian delicacy called Carrot Halwa. Carrot Halwa is going to be a delightful addition if you are a fan of the usual Indian carrot halwa or keen on a change. History of Carrot Halwa We are here with a brief history of carrot halwa. Read more: Exploring Indian Cuisine–A Journey through the Flavors of East, West, North, South Ingredients For the Carrot Halwa Layer:  Step-by-Step Recipe   Step 1 In a large pan heat 2 tbsp ghee. Put grated carrots and fry for about 5-7 minutes until they turn tender. Step 2 Pour 1 cup of milk into the carrots and stir the mixture over a medium flame until the carrots soaked up the milk. Step 3 After that add the sugar, green cardamom and saffron for flavouring. Cook for some more time until the sugar dissolves and the mixture becomes thick. Step 4 To make the curry still richer, add in khoya and continue to cook for about 3-4 minutes. Ones done, add the chopped nuts of your preference on the top. Set the carrot halwa aside. Nutritional Value (Per Serving)   Here is Why You’ll Love This Carrot Halwa Biryani  This Carrot Halwa Biryani recipe is adapted from two best loved Indian specialties. Love it for any occasion; this sweet and spicy dish is made using carrot halwa and biryani. That is why it is a balanced dish texturally and flavorful and many a time people will be asking for more. Please share how you found this tasty fusion meal below in the comment section! Do not forget to give this recipe a rating and let me know your creative additions in the bottom of the page. Read more:

Read More
Gorditas Recipe
Cuisine
Anupama Mishra

Delicious Gorditas Recipe: How to Make This Mexican Delight at Home

Rating: 4.9/5 Preparation Time: 45 minutes  Cooking Time: 15 minutes  Total Time: 1 hour  Gorditas is one of the most favorite Mexican recipes for its convenience, crispy texture, and adaporability of a various tasty stuffing. Obviously, they are amazing as breakfast, lunch, or dinner which will turn any meal into a celebration! If you are a beginner in Mexican food or a professional cook trying to expand your arsenal this recipe is just what the doctor ordered. Gorditas: A History Before diving into how to make it, let’s explore a bit of their background: Read more: Pozole Recipe: 1 Authentic Mexican Recipe For The Weekend Ingredients You’ll Need For this recipe, you can make these little pockets of deliciousness with basic, easy-to-find ingredients: For the Gorditas: Suggested Fillings (Feel free to get creative!): Step-by-Step Guide Follow these simple steps to prepare your gorditas from scratch: Step 1: Prepare the Dough Mix the masa harina, baking powder and salt in a large mixing bowl. Slowly incorporate the warm water and continue kneading with the same hands until it become so soft and sticky, resembling putty. If it is too dry, then it should be dough should be wet slightly with water but should not be sticky. Step 2: Shape the Gorditas Knead – then roll it into individual portions into 8-10 balls. Roll each ball between your hands down to a thick flat disc about 6mm thickness. Of course, you can used a tortiller press for this but you can also do this by hand without the need of special equipment. Step 3: Cook the Gorditas Step 4: Cut and Fill Once the gorditas have cooled for about 5 minutes, using a sharp knife cut the Gordita in half while preserving one side of the circle. After forming the gorditas you fill them with your preferred food such as beans, cheese or shredded meat. Step 5: Serve and Enjoy! You should serve your stuffed gorditas with salsa, guacamole or any other type of spread or topping of your choice. Eat it warm and see the facial expressions of people change from plain to happy. Nutritional Information (Per Serving) Gorditas can be enjoyed as a balanced meal, providing a mix of carbohydrates from the masa, proteins from the fillings, and healthy fats from ingredients like avocado and cheese. Top Tips for Delicious Gorditas A wonderful use for gorditas is that these are not only an entertaining food but also a rather tasty one to use with any meal. From being a first time Gorditas maker following this recipe to being an expert, you will be taken on a culinary trip to the Mexican soul. Well, here is your luck, bring all those ingredients, and let’s make this crispy yet warm and perfectly yummy dish! Read more:

Read More
coconut rice
Cuisine
Anupama Mishra

“Coconut Rice Bliss: A Flavorful and Easy Recipe”

Rating: 4.8/5 based Preparation Time: 30 minutes  Brush up your rice offering by learning how to make coconut rice if you have the passion for more tropical flavors to your dish. Being rich in tasteful and creamy flavor, free from any special complications, coconut rice would be a great option to taste. This you can take it with different forms of curry dishes or preferably with grilled fish and other seafood dishes or as it is. History of Coconut Rice Coconut rice is used in many countries of the world including Asian countries and some countries of Caribbean area. Here’s a quick glimpse into its rich history:  Read more: Authentic Japanese Hayashi Rice Recipe Now, let’s dive into the recipe! Ingredients for Coconut Rice To prepare the perfect coconut rice, you’ll need a few simple ingredients:  How to Make Coconut Rice  Step 1: Rinse the Rice Wash the basmati rice with cold water until the water you rinse the rice with runs clear. This also aids in helping to release the starch a bit and prevent your coconut rice from becoming sticky. Let it boil for about 10 minutes then allow it to soak for some other 10 minutes. Step 2: Heat the Oil Coconut oil is then heated in large saucepan over medium heat. If you are using curry leaves add them now as they fry to give out their scent. Step 3: Reduce Coconut Milk and Water  After the curry leaves are aromatic, add the washed rice to the pan &, stir fry for 2- 3 minutes. Then add the coconut milk and the water into the pot. Stir in the salt and sugar. Step 4: Cook the Rice Let it come to a simmer and then leave to gently simmer for a good five minutes. Place the lid on the pan and let it cook on low heat for 15-20 minutes until rice is cooked and the liquid is absorbed. Step 5: Fluff and Serve When it is done, turn the rice around the pot gently using the fork. Optional garnishing can be freshly grated coconut you can also add cinnamon to it if you prefer. Littlecraft has been brought to you, now it’s time to cook your coconut rice. Nutritional Value (Per Serving)  Tips for the Best Coconut Rice Why Coconut Rice?  Coconut rice is not just delicious but it is also healthy! Medium-chain fatty acids that coconut is loaded with are famous for their ability to provide energy at an alarming rate and also improve the overall health of the heart. Furthermore, Rice is also known to contain carbohydrates in its food composition making it an all day energy giving crop. If you are planning for a dinner party or just looking for a change from the regular lunch menu, this is what you need – coconut rice. It is so creamy and aromatic due to the use of sweet enriched coconut milk and fragrant rice accompanied by easily accessible spices. So why wait? Try it today and bring a flavor of the tropics to your home! Read more:

Read More
black bean and rice recipe
Cuisine
Anupama Mishra

Savor the Flavor: A Delicious Black Bean and Rice Recipes You’ll Love!

Ratings : 4.8/5 Prep time: 10 minutes  Cook time: 25 minutes  Total time: 35 minutes  If you’re into a healthy, tasty, and very simple meal, I present you with this black bean and rice recipe right here! Tightly connect with mouth’s taste bud and eye catching in terms of vitamin and medicinal packed meals, the fried rice would be a great addition in any restaurant or home menu. Irrespective of whether you are cooking it for a family dinner in the middle of the week or to add an extra kick into your meal prep way, black beans and rice dinner recipe never disappoint. Preamble: Black beans and Rice Explained Black beans and rice recipe is popular in many cultures around the world which includes Latin American, Caribbean and Southern United States. Here’s a brief history in points: Read more: Biko Recipe – Delicious Filipino Rice Cake Ingredients for Black Bean and Rice Recipes To make this flavorful black bean and rice recipes, you’ll need: How to Prepare Black Bean and Rice Follow these simple steps for a perfect meal: Step 1: Cook the Rice Step 2: Sauté Vegetables Step 3: Add Black Beans Step 4: Mix and Serve Nutritional Information (Per Serving) This black bean and rice recipe provides a nutritious, balanced meal: Another ingredient that is perfect for the digestive system is this black beans which is packed with fiber and protein as well. When served alongside rice, it can complement a balanced diet because it contains all the amino acids needed to make a complete protein meal for those on vegan or vegetarian diets. Love links for the Black Bean and Rice Recipes This delicious and very simple recipe of black beans and rice is a perfect meal for any occasion – for family and casual celebrations. This butternut squash recipe requires only a few ingredients, very little preparation time, and definitely yields tasty results. So, what are you waiting for? This scrumptious Black Bean and Rice Recipes should be sampled by everyone; you’ll most likely add it to your weekly meal plan! Read more:

Read More
Aloo Gobi
Cuisine
Anupama Mishra

Aloo Gobi: A Flavorful Indian Comfort Dish – Recipe, History, and More!

Rating: 4.8/5 Prep Time: 15 minutes  Cook Time: 25 minutes  Total Time: 40 minutes  When it comes to comforting, homestyle Indian cooking, Aloo Gobi stands out as a favorite for many. This iconic dish combines potatoes (aloo) and cauliflower (gobi) with a delightful blend of spices, creating a warm and flavorful experience. If you’re new to Indian cooking or simply craving a traditional dish, this easy aloo gobi recipe will be your go-to! History of Aloo Gobi Aloo Gobi is a staple in many Indian households, and its origins are deeply rooted in the diverse culinary traditions of the Indian subcontinent. Let’s explore its brief history: Read more: Aloo Paratha Recipe: A Comforting Indian Delight You Can’t Resist! Ingredients for Aloo Gobi Masala To make this mouthwatering aloo gobi masala, you’ll need the following ingredients: Step-by-Step Aloo Gobi Recipe Now that you’ve gathered all your ingredients, it’s time to bring this classic dish to life with these simple steps: Step 1: Prepare the Vegetables  Cut the potatoes and cauliflower into bite-sized pieces. Rinse them thoroughly and set aside. Step 2: Heat the Oil In a large pan, heat oil over medium heat. Add cumin seeds and allow them to sizzle for a few seconds until aromatic. Step 2: Sauté Onions and Aromatics  Add the chopped onions and sauté until golden brown. Then, stir in the ginger, garlic, and green chilies. Cook for 1-2 minutes until the raw smell disappears. Step 4: Add Tomatoes and Spices  Toss in the chopped tomatoes and cook until they soften. Next, add the turmeric, coriander, red chili powder, and salt. Stir well, allowing the spices to blend. Step 5: Cook Potatoes and Cauliflower  Add the cubed potatoes and cauliflower florets to the pan, mixing them well with the masala. Cover and cook for 10-12 minutes on low-medium heat, stirring occasionally. Add a splash of water if needed. Step 6: Finish with Spices Once the vegetables are tender, sprinkle garam masala and amchur powder. Mix gently to coat everything in the flavorful masala. Step 7: Garnish and Serve Garnish your aloo gobi with freshly chopped cilantro. Serve it hot with warm roti, naan, or rice! Nutritional Value of Aloo Gobi One serving of aloo gobi (about 200g) offers a well-rounded mix of nutrients, making it a wholesome addition to your meal. Here’s what you get in each serving: Tips for the Perfect Aloo Gobi Masala Aloo Gobi is more than just a dish – it’s an expression of Indian cuisine’s simplicity and depth. Whether you’re making it for a quick weekday dinner or a special family gathering, this flavorful recipe will always be a hit. Try it today and let the aroma of Indian spices fill your kitchen! Did you try this recipe? Rate it and share your experience in the comments below! Read more:

Read More
Tom Kha Gai
Cuisine
Anupama Mishra

Tom Kha Gai: A Flavorful Thai Coconut Soup You Can’t Miss

Rating: 4.9/5 Preparation Time: 30 minutes For those of you who claim to be Thai food lovers and enjoy the exquisite taste of creamy foods, Tom Kha Gai is for you. Thai coconut chicken soup is a classic example of flavor and texture in Thai cuisine due to beautiful coconut milk with tender chicken, lemongrass, and galangal. Tom Kha Gai is tasty as any other Thai food and choosing it to launch yourself into attempting Thai and other international food cuisines will not be a bad move at all. In the following sections, we will give you an idea as to how this Thai classic came to be, a detailed guide to making Tom Kha Gai Soup, including detailed instructions with photos, and the health benefits of the dish. Brief look at the creation of Tom Kha Gai Read more: The most authentic Thai beef salad recipe available online! Ingredients You’ll Need Here’s everything you’ll need to make this delicious Tom Kha Gai soup recipe at home: Step-by-Step Tom Kha Gai Soup Recipe Step 1: Prepare the Aromatics  In a large pot, bring the coconut milk and chicken broth to a gentle simmer. Add the lemongrass, galangal, and kaffir lime leaves to infuse their flavors into the liquid. Simmer for 5-7 minutes to extract the full aroma. Step 2: Add Chicken and Mushrooms  Once the broth is infused, add the thinly sliced chicken and mushrooms to the pot. Simmer until the chicken is fully cooked, which usually takes about 5-8 minutes. Step 3: Season the Soup  Add fish sauce, lime juice, and palm sugar to create the perfect balance of salty, sour, and sweet. Stir gently and taste to adjust seasoning if needed. Step 4: Spice It Up  For an authentic Thai heat, add the Thai bird chilies. If you prefer a milder version, reduce the number of chilies or skip them entirely. Continue simmering for another 2-3 minutes. Step 5: Serve and Garnish  Once the soup is ready, remove the lemongrass, galangal slices, and kaffir lime leaves before serving. Ladle the soup into bowls, and garnish with fresh coriander for a burst of color and flavor. Nutritional Value (Per Serving) Tips for a Perfect Tom Kha Gai Soup Recipe Why You’ll Love Tom Kha Gai Tom Kha Gai is a beautifully balanced dish, perfect for anyone looking for a flavorful but light meal. The richness of coconut milk, paired with the aromatic herbs, makes it a go-to comfort food, especially during cooler months. Plus, it’s simple and quick to prepare, making it ideal for weeknight dinners or even special occasions when you want to impress your guests. With this Tom Kha Gai soup recipe, you can bring the authentic taste of Thailand to your kitchen in under 30 minutes. Whether you’re a seasoned cook or just starting out, this recipe will surely become a favorite in your repertoire. Enjoy the creamy, spicy, and citrusy notes that make Tom Kha Gai an unforgettable culinary experience! Let us know how your Tom Kha Gai turned out in the comments below! Read more:

Read More
Lentil Soup
Cuisine
Anupama Mishra

Lentil Soup: A Hearty, Flavorful Classic You Can’t Resist

Rating: 4.8/5  Preparation Time: 45 minutes  Stirring for easy to prepare a meal with a recuperating touch of nutrition and a vibrant taste? You know what to do though – get your lentil soup on! This is a simple food that dates back and it has been popular in many cultures for several years. From a simple dinner on a working week to delicious meal prepping right during the week, this lentil soup recipe is sure to become your go-to. A Brief History of Lentil Soup Lentil soup could be traced back many centuries of human civilization. Here are some interesting points: Read more: Chicken Pastina Soup: The Best Way To Enjoy Dinner Ingredients for Traditional Lentil Soup Recipe Here’s everything you’ll need to make this traditional lentil soup recipe: How to Make Lentil Soup This lentil soup recipe is easy to follow, packed with nutrients, and tastes amazing. Step 1: Prepare the Ingredients  Begin by rinsing your lentils under cold water to remove any debris. Chop the onions, garlic, carrots, and celery. Step 2: Sauté the Vegetables  Heat the olive oil in a large pot over medium heat. Add the onions, carrots, and celery. Cook for 5-7 minutes until softened, stirring occasionally. Add garlic and cook for another 1-2 minutes until fragrant. Step 3: Add Lentils and Spices  Add the rinsed lentils, cumin, turmeric, and bay leaf to the pot. Stir to coat the lentils in the spices and cook for 1 minute to bring out the flavors. Step 4: Simmer with Broth and Tomatoes  Pour in the vegetable broth and add the diced tomatoes. Stir well. Bring the soup to a boil, then reduce the heat to low and cover. Simmer for 25-30 minutes, stirring occasionally, until the lentils are tender. Step 5: Season and Garnish  Remove the bay leaf and season the soup with salt and pepper to taste. Garnish with fresh parsley or cilantro. For a burst of freshness, squeeze some lemon juice on top before serving. Nutritional Value This traditional lentil soup recipe is not just tasty but also a nutritious powerhouse. Here’s what you can expect in terms of nutritional value per serving: Lentils are an excellent source of plant-based protein, making this soup an ideal choice for vegetarians and vegans. It’s also high in fiber, supporting good digestion, and loaded with vitamins and minerals for overall health. Customization Tips Interested in lentil soup recipe variations? Here are a few ways to make it your own: Lentil soup is not just a tasty and healthy meal but it can be prepared and served on any occasion it is convenient to serve as a soup. Here’s this lentil soup recipe with just a few ingredients and a little work, you’ll be pinching bowls for second helpings. This is a good opportunity to try, and let your kitchen smell like this! Read more:

Read More

I’m Jessica, your new guide. Welcome to my Cookbook!

Lorem ipsum dolor sit amet, ad consectetur adi picibe elit, sed do eiusmod tempor inci didunt quo labore e dolore magna aliqua ut.

Workshop

Subscribe
Subscribe to our newsletter and be informed about new recipes & workshops.

Follow me on Social Media